If you want to improve your brand image, customizing your webchat’s appearance to match your website’s layout and color is a great way to do it.
In this article, we’ll show you how to create your Webchat widget and enhance its look and feel. Let’s get started.
Adding a new Webchat channel
To add a new Webchat channel, follow the steps below:
- From the left side menu, open Administration > Channels.
- On the Channels page, click the Connect New Channel button, and choose Webchat.
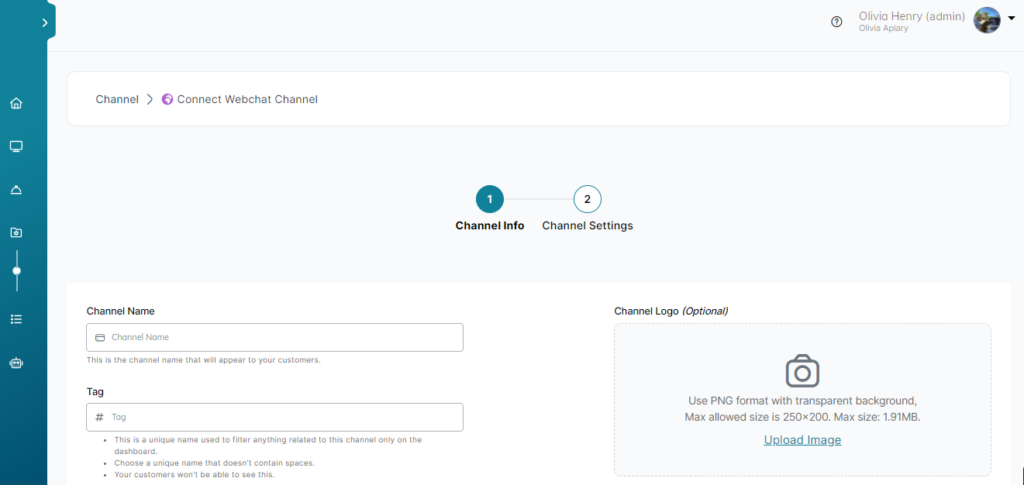
- In the Channel Info step, enter your channel’s Name & Tag.

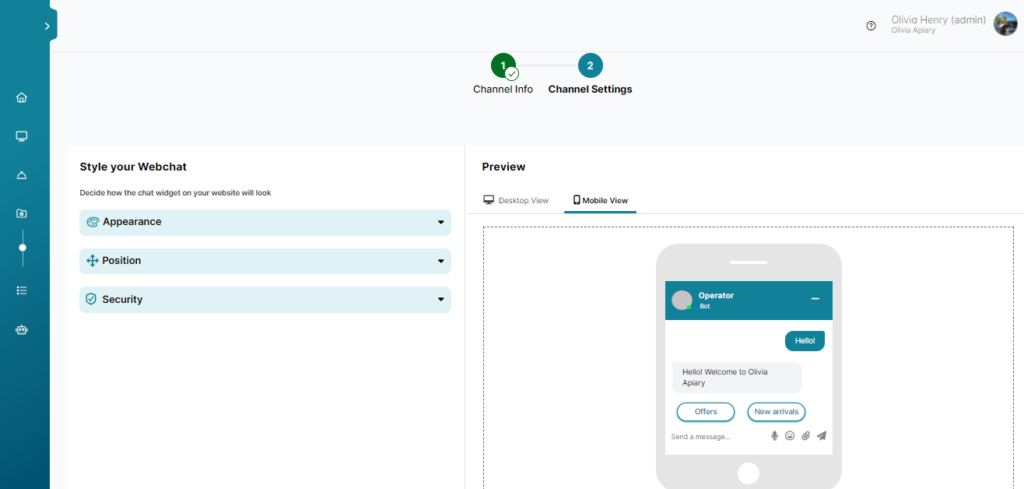
- Next, on the Channel Settings step, you can edit the widget’s style and add trusted websites.

- Finally, click Connect. This will pop up your snippet code that you can use to deploy your widget on your website(s).
Styling the Webchat
Appearance

To edit your Webchat appearance, navigate to your Webchat channel, click Edit, open the Settings tab, then expand the Appearance section.
- Show your business logo, by checking Show your logo.
- Enable lead capture, it will allow your webchat to ask customers questions when they first open it. You can change these questions in the Settings section of the left menu.
- You can also change how your widget looks while minimized as shown below.

- To add a title to the webchat widget, check Add title, and type the text you want to show.
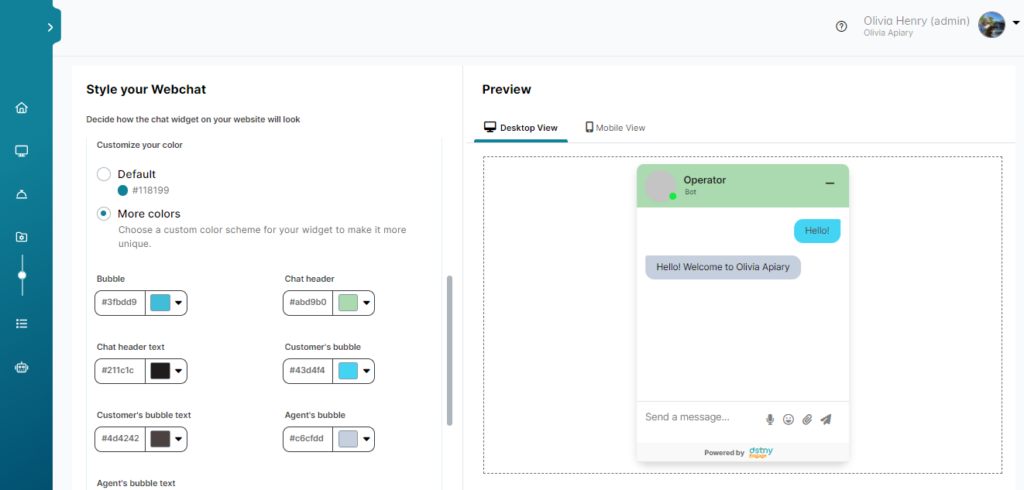
- Change the color of webchat widget, scroll down to Customize your color, and check More colors. You can select the color of each part of the webchat widget: Bubble, Chat Header, Chat Header text, Customer’s Bubble, Customer’s bubble text, Agent’s bubble, Agent’s bubble text, Action color.
- Click the Save button.

Position
To edit your Webchat position, expand the Position section, and start adjusting side/bottom spacing.

Security
To protect your customers and agents, enter URLs for all websites that will include your brand under the Security section. Chat will not work on any website that is not listed here.
